

Specialized Monogram Appliance Repair in San Francisco
Mon–Sat: 8:00 AM – 7:00 PM
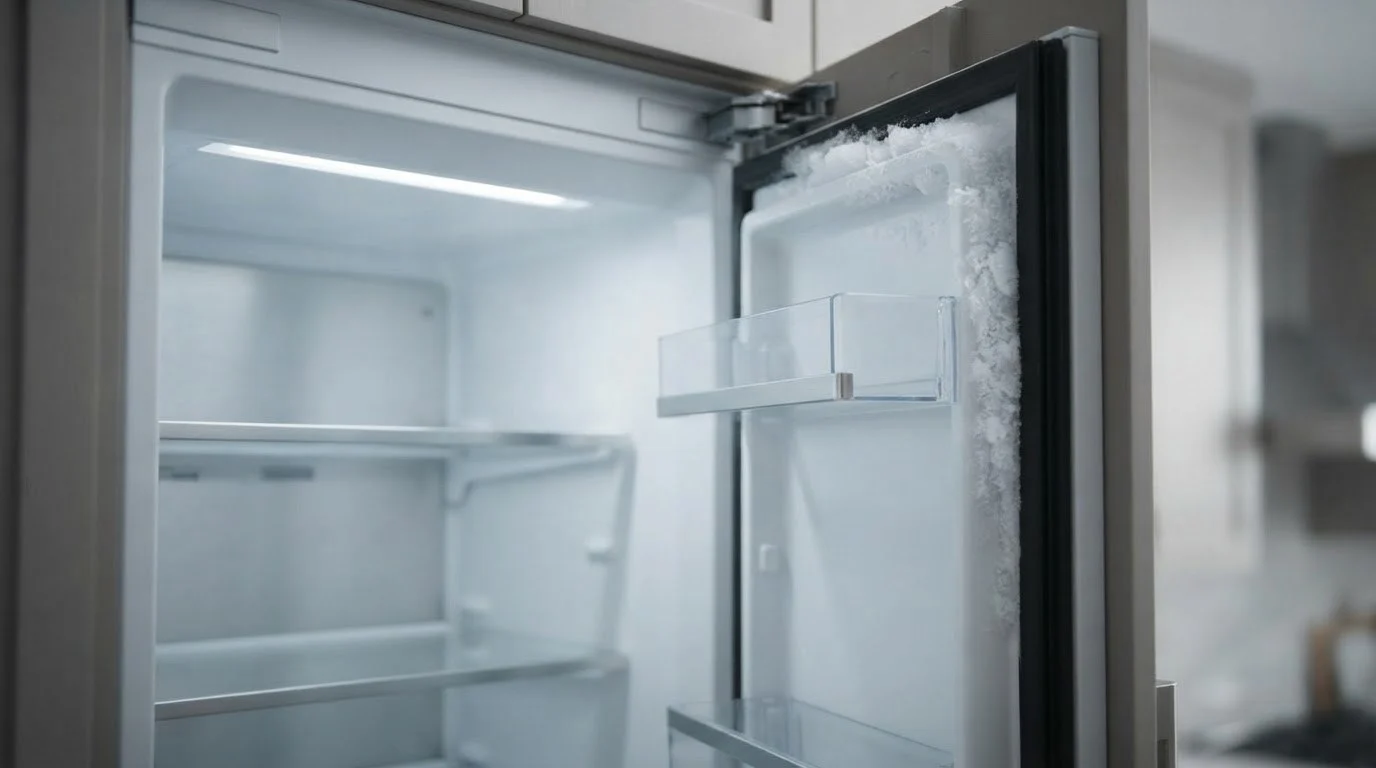
White frost forming along the gasket or inside edge of your Monogram freezer usually means moist air is getting in. Here is how to find the entry point and when to call.
A thin dusting of frost on the freezer door seal is cosmetic, and any freezer will show some. A thick white ridge that grows along the gasket, a door that sticks when you pull it, or ice that makes the drawer rub are different. They tell you air is entering the cabinet and the moisture is freezing exactly where it arrives.
Room air carries water vapor. When it slips past the gasket into a freezer, the vapor meets cold surfaces and turns straight into frost. The edge of the door is the first cold surface it reaches, so that is where the frost collects. The more air that leaks, the faster the ridge grows, and the harder the freezer works to keep up.
That is also why the frost keeps coming back after you scrape it off. Removing the ice does nothing about the gap that created it. It is better to read the frost as a map. If it sits in one corner, the leak is probably in that corner. If it runs along the whole latch side, the door may be hanging low or out of square.
Open the door fully and let it swing back. A freezer door should draw itself shut softly and stay closed. If it stops short, bounces, or needs a push, find out what is holding it. Items sticking out of a shelf or a bin pushed forward can keep the door off the seal by a small amount, which is enough to let in moist air. Check that nothing, including an ice bucket or a wrapped package, rests against the gasket.
On a column or drawer-style freezer, make sure the drawer is seated all the way in its track and that the front panel is not catching on the cabinet next to it. Custom panels are heavy, and a panel installed a little out of square can prevent an even seal. Bay Area condos and older flats sometimes have floors that are slightly out of level, which can show up as a door that closes better on one side than the other. Note whether the sticking point moves with the load.
Wipe the gasket with a soft cloth and warm water so sugar residue and spilled drinks do not hold it away from the frame. Look for a fold, a split, a flat area, or a section that has pulled out of its groove. Feel for a spot where the sealing surface is stiff and does not spring back. Do not pull or stretch the gasket, and do not use oil or petroleum jelly. A technician decides whether the gasket needs a repair or replacement and whether the hinge needs adjusting.
Not all frost comes from the door. If the interior walls and the back also carry heavy frost, the defrost system may not be clearing the cooling coil on schedule. The defrost heater, its sensor, or the control that calls for defrost can fail, and then ice grows until it blocks the airflow that carries cold around the cabinet. The result can be a freezer that is cold in one spot and warm in another, with frost forming at the edges where air is moving least.
A technician separates a door problem from a defrost problem by looking at where the frost is heaviest, how the door seals, and how the system behaves through a cycle. That is a diagnosis, not a repair, and it comes first.
Do not chip the frost with a knife or screwdriver, because a sharp tool can cut the gasket or puncture the liner near the cooling lines. Do not use a hair dryer or heat gun on built-in cabinetry. Do not defrost by leaving the door open for hours, since that sends a rush of moist air in and the frost returns faster. Do not remove interior panels to chase ice behind them.
If you must remove frost, switch the freezer to its off setting or power it down, move the food to a cooler, wipe the melt as it forms, and let the interior dry fully before restarting. If you cannot do that without risking food, call for a diagnosis first.
Our technicians check the door alignment, hinge and panel weight, the gasket, the interior airflow, and the defrost components on the model in front of them. They explain what they find and give a written estimate. Nothing is repaired until you approve it. Our Monogram freezer repair page describes the full visit, and the Monogram freezers guide shows the lineup we see most.
The model number matters because door hardware and defrost parts differ. It is usually on the inside wall or near the door frame, and our post on finding your Monogram model number shows how. A 36-inch column freezer like the ZIC363NBVLH and the slim 18-inch ZIF181NBRII are built differently around the door, so the frost pattern can look different between them.
Frost that follows a long outage is a separate case. If the freezer lost power and then began to frost, read our guide on what to do when a Monogram appliance will not turn on after a power outage.
A thin film is common, especially after the door has been open for a while. A growing ridge, or frost that stops the door from opening easily, is not normal and points to air entering.
Only with a plastic scraper and only after the freezer is off and the food is out. Never use a metal tool near the gasket or the interior wall. Removing frost does not fix the cause.
A door can look closed and still have a gap at one corner, a gasket that has lost its spring, or a panel that tilts the door. Air enters through a very small opening.
Sometimes, if the gasket is the only fault. If the door is out of alignment or the defrost system is failing, a new gasket will not hold. The diagnosis tells you which it is.
If it is holding temperature, you can usually keep it there. Avoid opening the door often and keep the gasket area clear. If food begins to soften, move it to another freezer.
Share a few details and we’ll confirm an appointment. Prefer to talk? Call us and we’ll help right away.